

DIY: Coffered Ceiling Project

Jump to an idea (34)
  1. Framing Boards
  2. Crown Moulding
  3. Nail/Screw Gun
  4. Power Miter/Table Saw
  5. Chalk Line, Markers, Tape Measure
  6. Stud Finder
  7. Sander
  8. Paint of Varnish
  9. Construction Ladder
  10. Protective Gear
  11. Steps in Creating Coffered Ceilings
  12. Find the Rafters
  13. Lay out the Grid
  14. Cut and Set up the Mounting Blocks
  15. Prepare, Cut, and Assemble the Beams
  16. Assemble the Coffers
  17. Attach the Mouldings
  18. Sand and Finish
  19. Great Coffered Ceiling Ideas
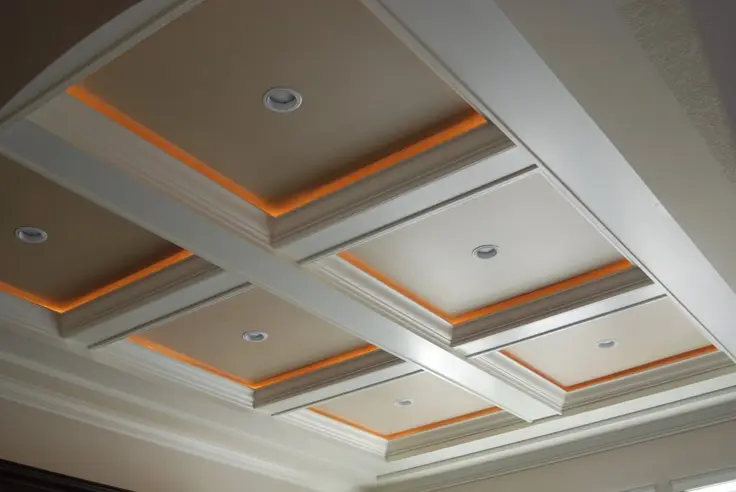
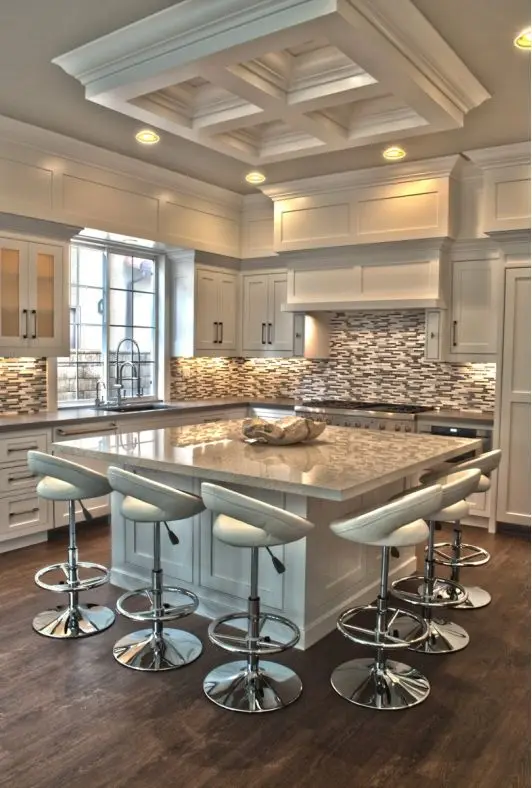
  20. Coffered Ceiling with Accent Lighting
  21. Modern Farmhouse Ceiling
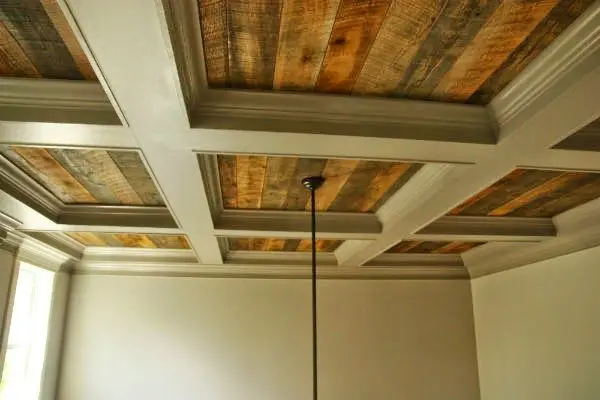
  22. Warm Rustic
  23. Minimalist Coffers
  24. Classic White Beams
  25. Centre Highlight Feature
  26. Diamond Detailing
  27. Natural Wood Beams
  28. Beehive Coffers
  29. X-Box Ceilings
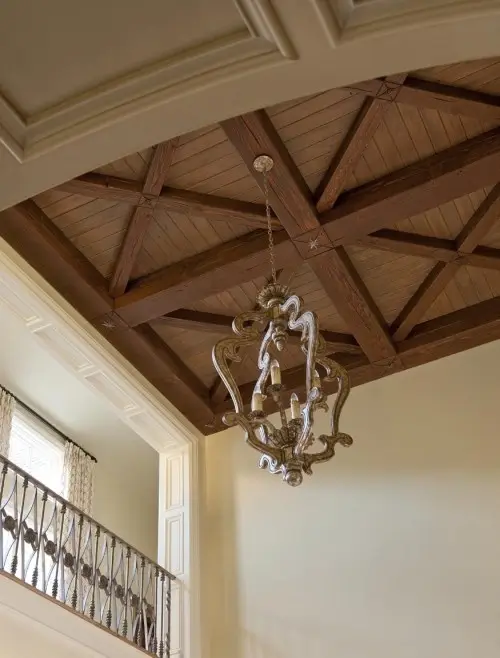
  30. Dark Ornate
  31. Coffer Feature
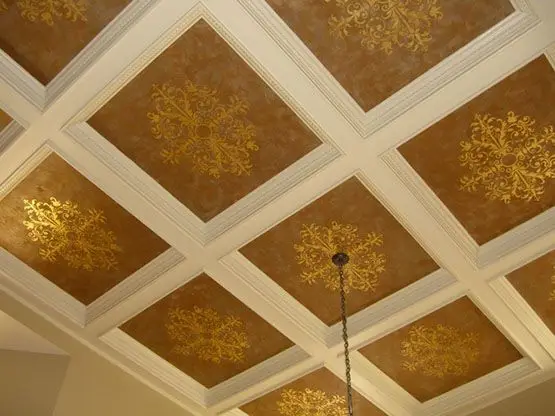
  32. Stencilled Trays
  33. Contemporary Coffered Ceiling
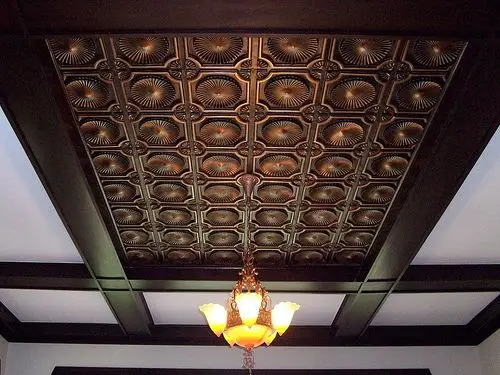
  34. Ornate Tin and Beams
DIY: Coffered Ceiling Project idea

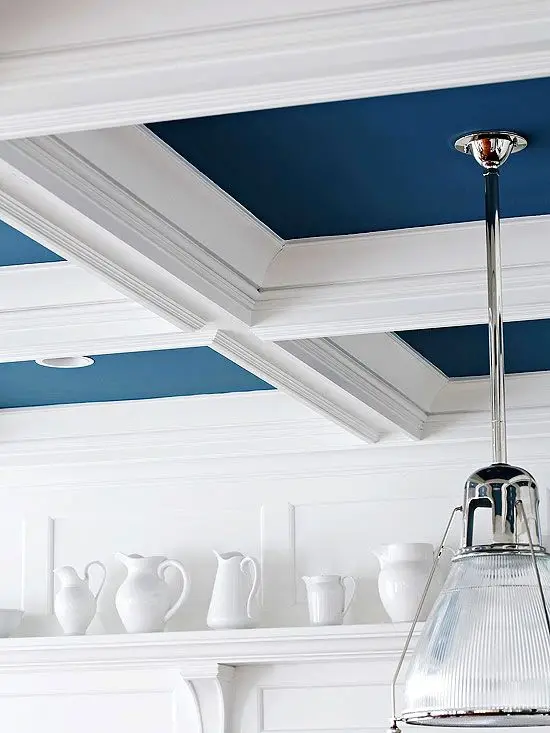
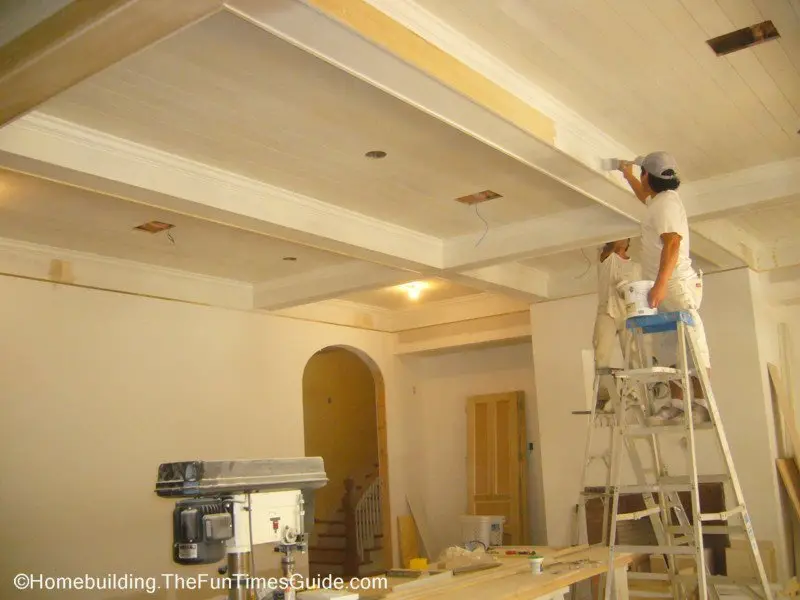
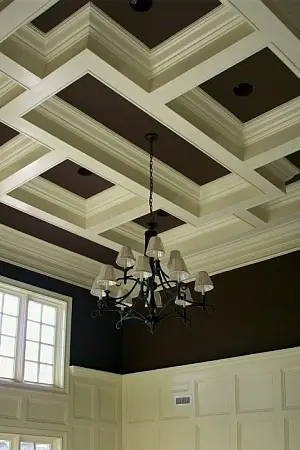
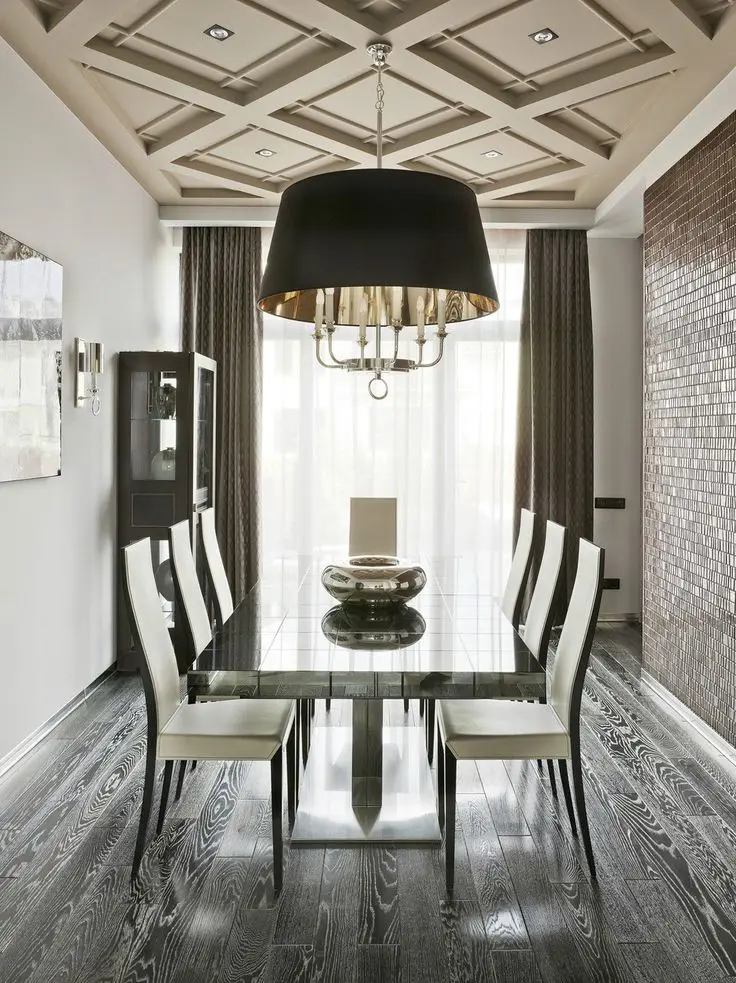
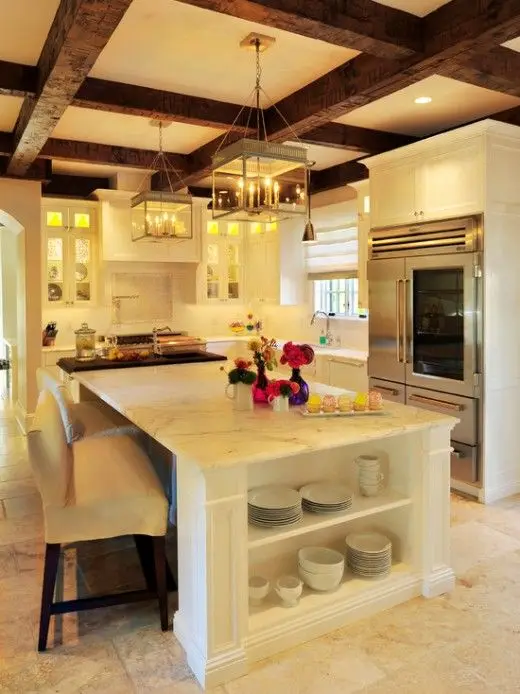
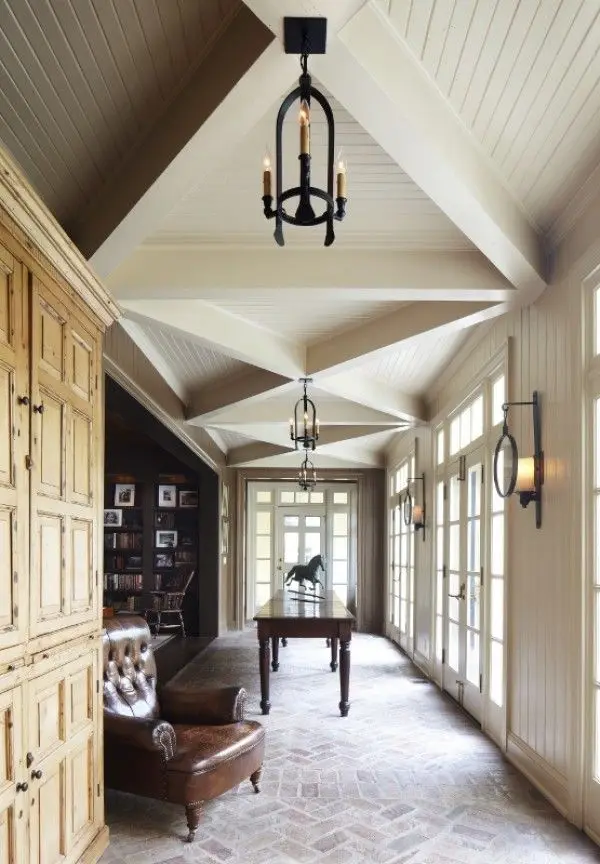
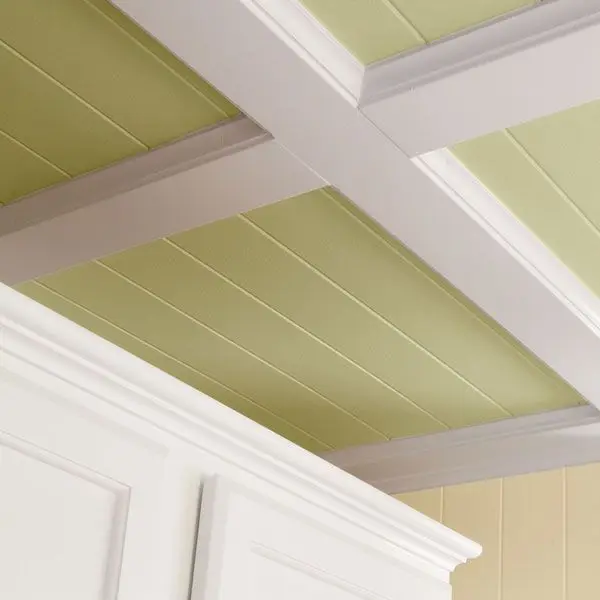
Here is another project to dress up your home, this time the ceiling. Coffered ceiling reminds of the Old-English affluent elegance. It adds character and depth to any room. Coffering is also brilliant to hiding unsightly exposed beams and other ceiling imperfections and to modernise a dated ceiling. Coupled with strategic lighting, coffered ceilings can be breathtaking highlights to any modern home. This project might require advanced carpentry skills and the right equipment. But with enough dedication and focus, anyone can accomplish this basic coffered ceiling project.

You will need:

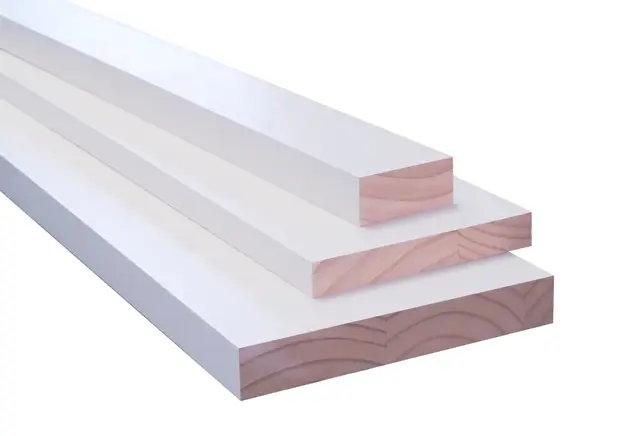
Framing Boards

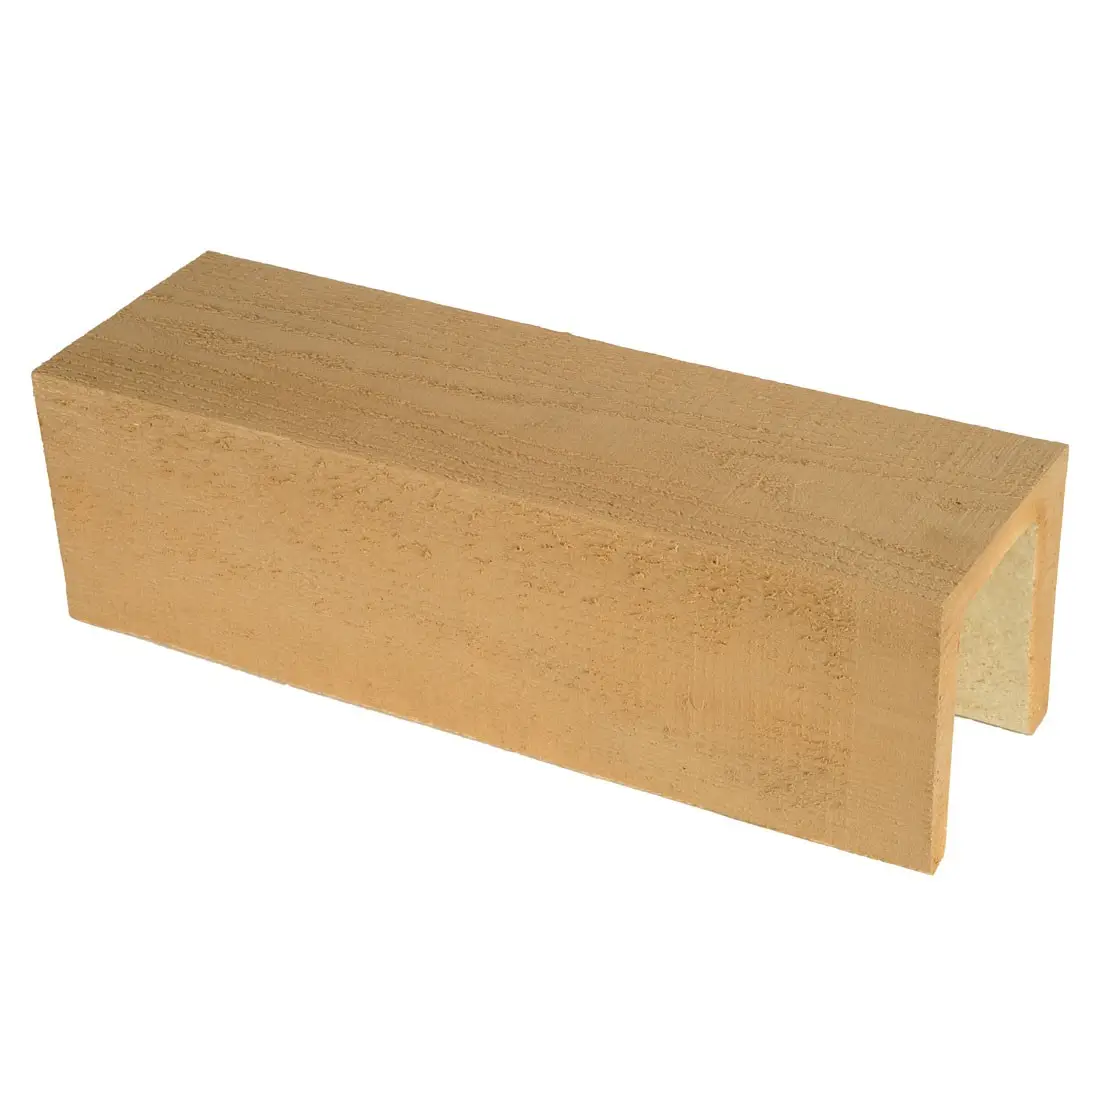
Coffers are usually five inches wide. Larger rooms need bigger beams. One inch thick framing boards are perfect for this project. 2x4 lumbers can cut down work but will be heavier and more difficult to handle.

DIY: Coffered Ceiling Project idea

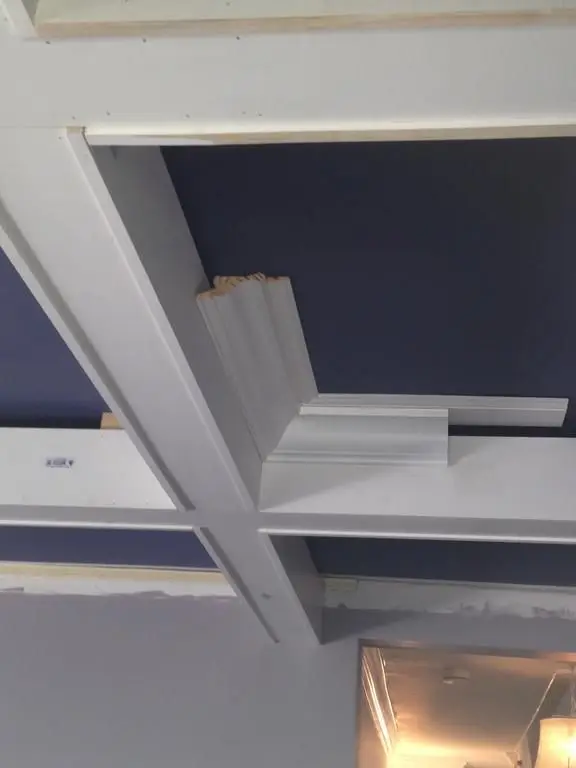
Crown Moulding

You can opt to skip the mouldings. However, adding mouldings provide the polished and graceful finish to your new ceiling.

DIY: Coffered Ceiling Project idea

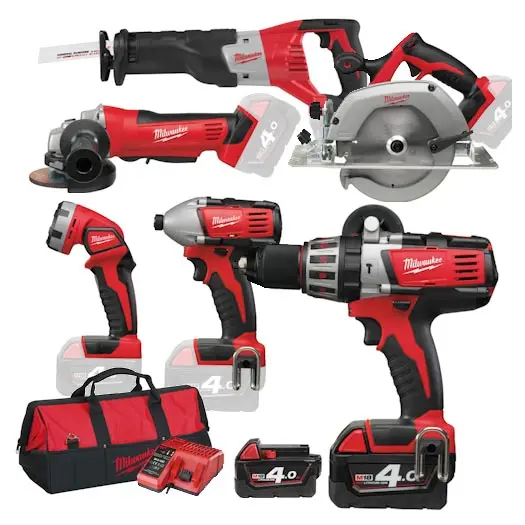
Nail/Screw Gun

Using drive hammers only for this project is not recommended. Expect a lot of overhead nailing and to make the work a good deal easier, equip yourself with powered nail and screw guns.

DIY: Coffered Ceiling Project idea

Power Miter/Table Saw

There will be a lot of wood cutting. A power saw will significantly cut down work time and hard labour.

Chalk Line, Markers, Tape Measure

DIY: Coffered Ceiling Project idea

Markers and chalk line will help keep your lines straight, clear coffer plan and visualisation, and hasten cutting, nailing and fastening the boards. The measurer will ensure the quality and accuracy of your work.

ad · incontent

Stud Finder

Main line coffers should be attached to the rafters. A stud finder will locate rafters easily.

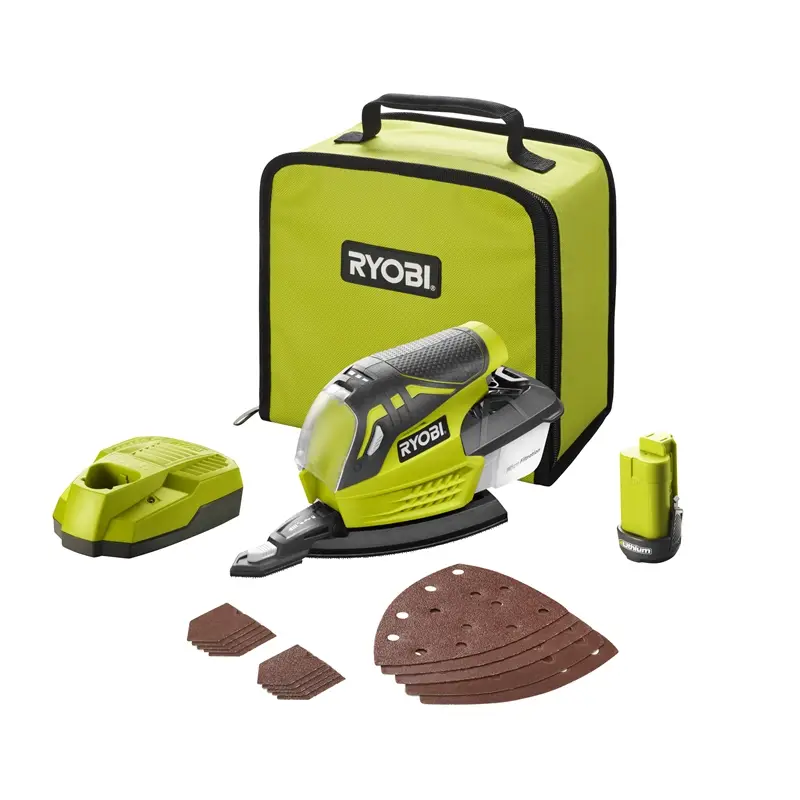
Sander

DIY: Coffered Ceiling Project idea

Clean off the wood panels of and smoothen the planks. Sand paper can do the job, but will require a lot of manual work.

Paint of Varnish

Highlight your coffered ceiling with paint or varnish.

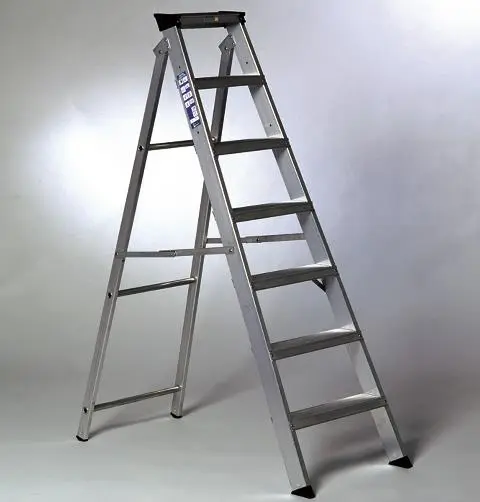
Construction Ladder

Safe and steady construction ladder or a substitute. Put premium on your safety and only use stable platforms or ladders to step on.

DIY: Coffered Ceiling Project idea

Protective Gear

Keep yourself safe and protected while doing construction work. You will need a pair of construction gloves, eye protector, and face mask. Wear comfortable clothing that will cover most of your body.

Steps in Creating Coffered Ceilings

DIY: Coffered Ceiling Project idea
ad · incontent

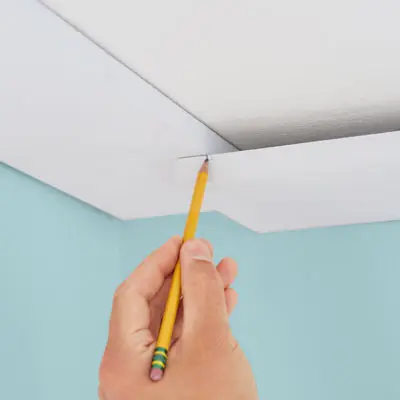
Find the Rafters

Locate the rafters using your stud finder. If you don’t have one, gently tapping on the ceiling can do the trick, but not recommended for the unexperienced. Plan the grid, at least one of your main coffers should be attached to a rafter.

DIY: Coffered Ceiling Project idea

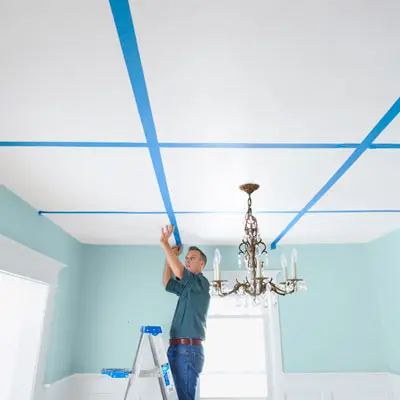
Lay out the Grid

First, measure and mark the edge or perimeter beams. Calculate for the lengths of the inside beams. Full length spans should run the width of the room, and the shorter intertwining spans along the length. Do not forget to factor in the width of the beams.

DIY: Coffered Ceiling Project idea

Cut and Set up the Mounting Blocks

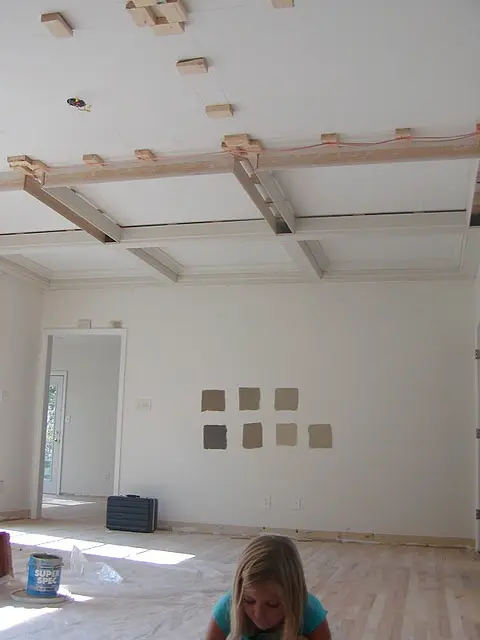
Creating mounting blocks will make the process a lot easier and faster. The blocks should be the width of your beams less the thickness of the sides. So if your beam is five inches wide and the side panels are one-inch thick, your mounting blocks should be three inches wide. Mounting block for the perimeter beams are four inches wide as they only have one side panel. Cut the blocks and secure them along your chalk lines. Use at least two blocks for each interval.

DIY: Coffered Ceiling Project idea

Prepare, Cut, and Assemble the Beams

Starting with the full length spans, measure and cut the beams. Each span has three components, the board and its two sides. The width of the sides represents the depth of your coffered ceiling. To assemble the beams, secure the sides under the board. The space between the sides is equal to the width of your mounting blocks.

DIY: Coffered Ceiling Project idea

Assemble the Coffers

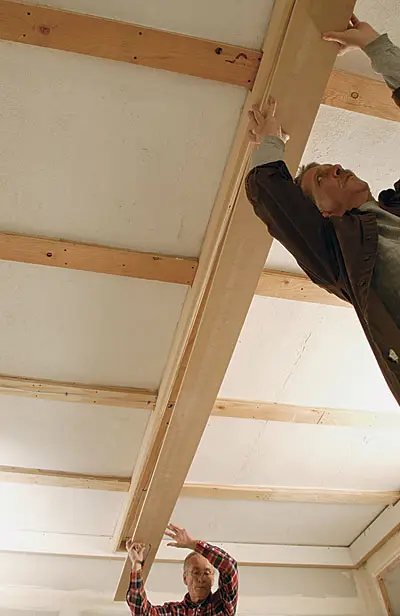
Once the beams are done, you are now ready to attach the coffers to the ceiling. At this point, you are going to need somebody to help you hold the beams while you fasten them, especially with the full length beams. Position the beams against the mounting blocks and nail on the sides.

DIY: Coffered Ceiling Project idea

Attach the Mouldings

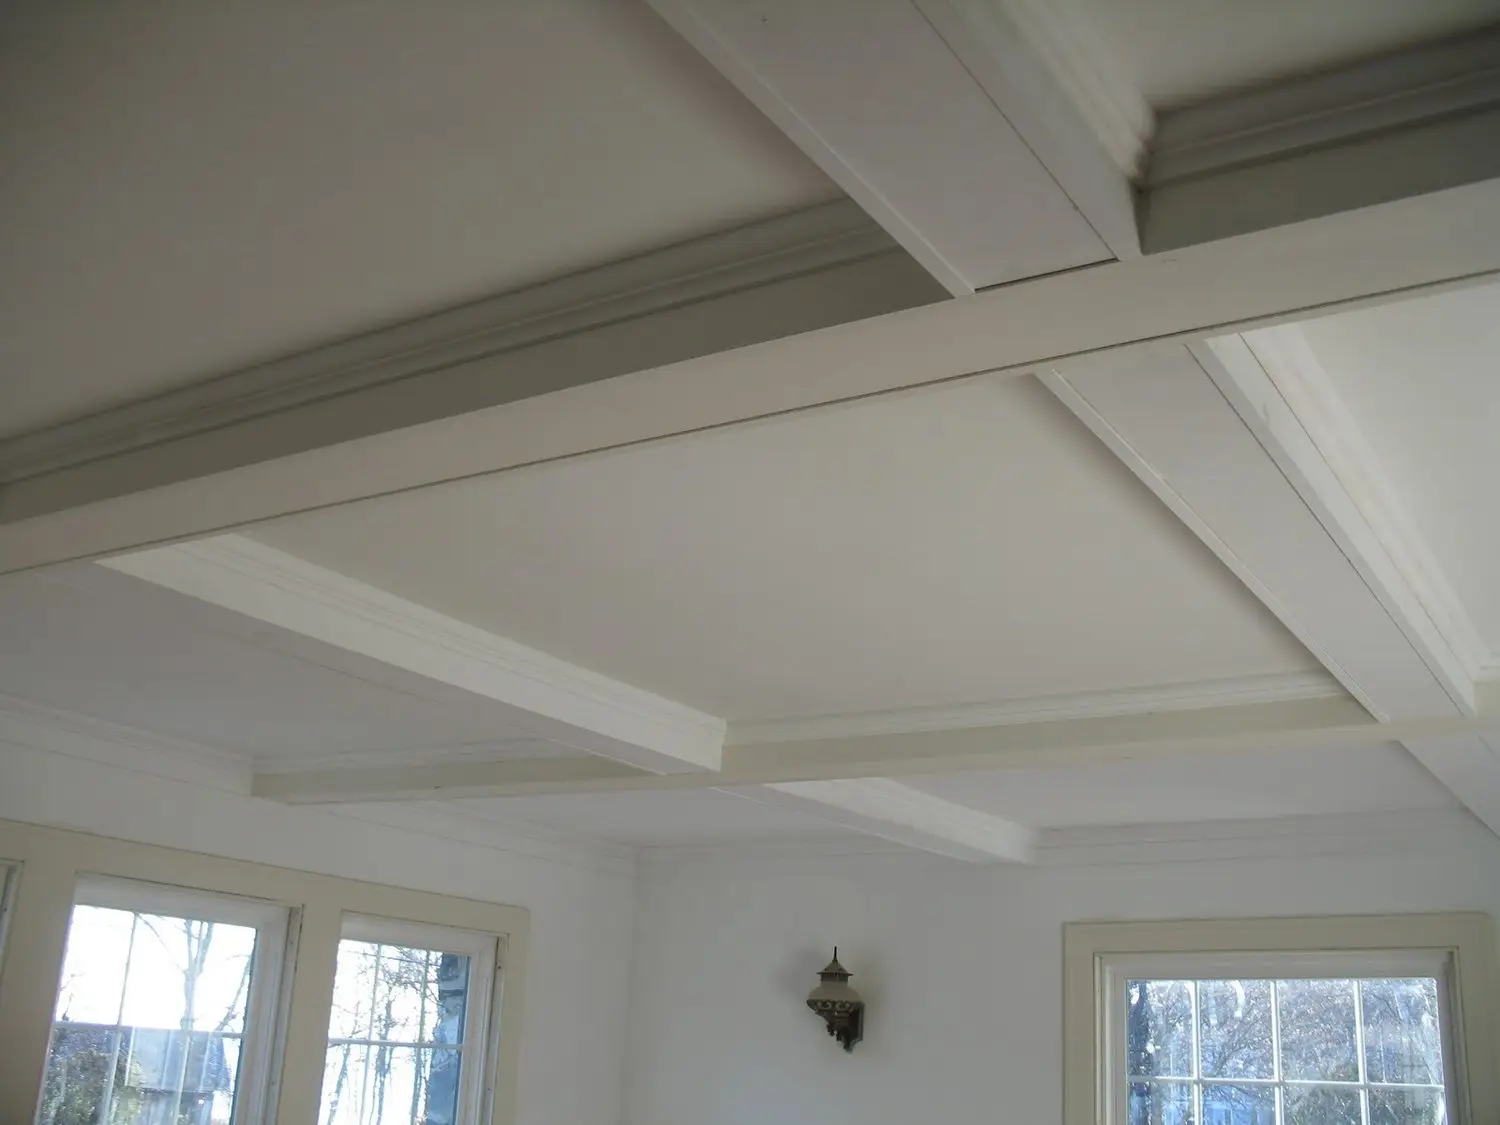
Create a more refined look by adding mouldings to the sides of your coffers. Elaborate and intricate designs give a vintage feel, while cleaner lines affect a more contemporary look.

DIY: Coffered Ceiling Project idea
ad · incontent

Sand and Finish

Sand off knobs and smoothen uneven joints with a sander. Finish off your work by painting or varnishing your new coffered ceiling.

DIY: Coffered Ceiling Project idea

Great Coffered Ceiling Ideas

1. Coffered Ceiling with Accent Lighting

DIY: Coffered Ceiling Project idea

2. Modern Farmhouse Ceiling

DIY: Coffered Ceiling Project idea

3. Warm Rustic

DIY: Coffered Ceiling Project idea

4. Minimalist Coffers

DIY: Coffered Ceiling Project idea
ad · incontent

5. Classic White Beams

DIY: Coffered Ceiling Project idea

6. Centre Highlight Feature

DIY: Coffered Ceiling Project idea

7. Diamond Detailing

DIY: Coffered Ceiling Project idea

8. Natural Wood Beams

DIY: Coffered Ceiling Project idea

9. Beehive Coffers

DIY: Coffered Ceiling Project idea

10. X-Box Ceilings

DIY: Coffered Ceiling Project idea
ad · incontent

11. Dark Ornate

DIY: Coffered Ceiling Project idea

12. Coffer Feature

DIY: Coffered Ceiling Project idea

13. Stencilled Trays

DIY: Coffered Ceiling Project idea

14. Contemporary Coffered Ceiling

DIY: Coffered Ceiling Project idea

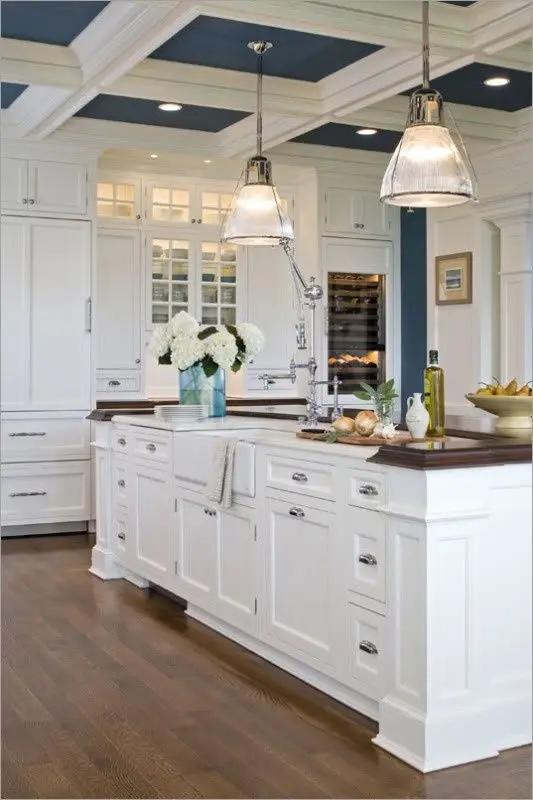
15. Ornate Tin and Beams
DIY: Coffered Ceiling Project idea

What is your preferred type and style of coffered ceiling? Why not discuss it on our RenoForum!